Release version with App Center
In this section, we will introduce our release process to you.
Getting started
In order to start with version release, you first need to set up so-called tfs-git mirroring. Define a location on your computer on which you will save our project. We keep it on Disk C, usually in folder called tfs. Then, clone our project from GitHub in your recently created folder using this link.
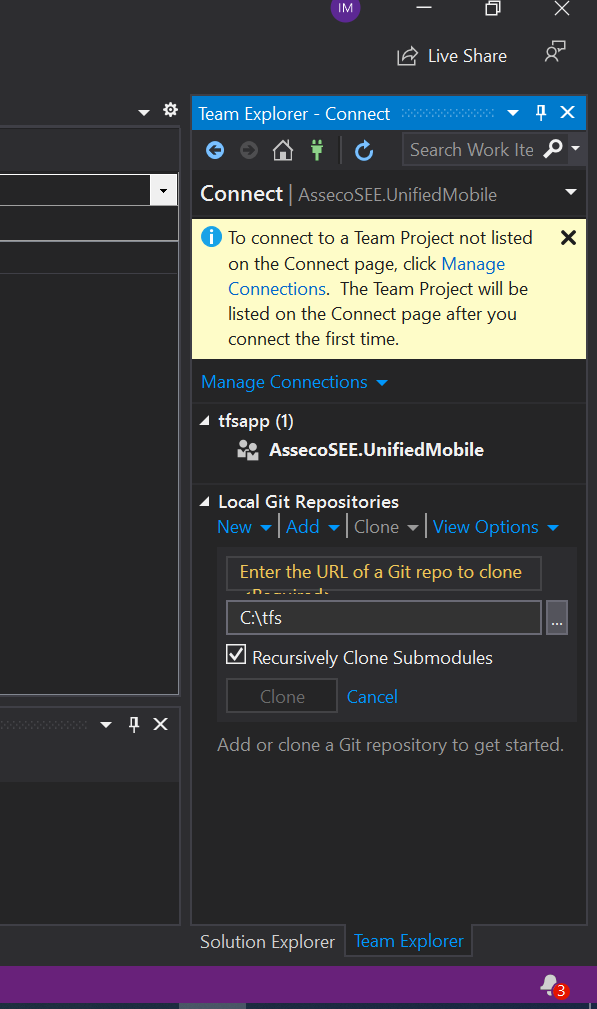
Visual Studio only sees git repositories if the .git folder is used as the store for the git repository. In your VS, you should see that you're connected to git now. We can fake-out VS by using a different folder for the git store. Create one more folder in a different location, for example, on your Desktop. Copy the .git folder from the folder where our project was cloned to the new one created on Desktop, and then rename it (.git folder in tfs folder) to _git (.git dir may be hidden). You will see that you are now again on tfs. Now, get latest for $/AssecoSEE.UnifiedMobile/DigitalEdge from tfs. With every release version, we will be working with git folders from both locations in order to switch between git and tfs.
Note
If you already have our project from tfs, before you start cloning, you need to delete everything from your local $/AssecoSEE.UnifiedMobile/DigitalEdge and then, clone GitHub project there.
You are now set, let's go!
Package release
We can't release latest versions of our bank solutions without new packages. First thing we need to do is go to our AssecoSEE.DEM.sln solution and get latest. Use should also change (increase) tick in Application.cs. Then, copy the _git folder from DigitalEgde to a folder you created on Desktop and delete it. Copy the .git folder from Desktop to DigitalEdge, from where you recently deleted _git. You should be connected to git now and see all pending changes.
Now, let's go to Azure DevOps, our building tool. Find DEM Piplines on this link. Log in with domain credentials. Click on available pipeline, then go to Edit, in the upper right corner. Click on Triggers. You should be on the screen like in the picture below.
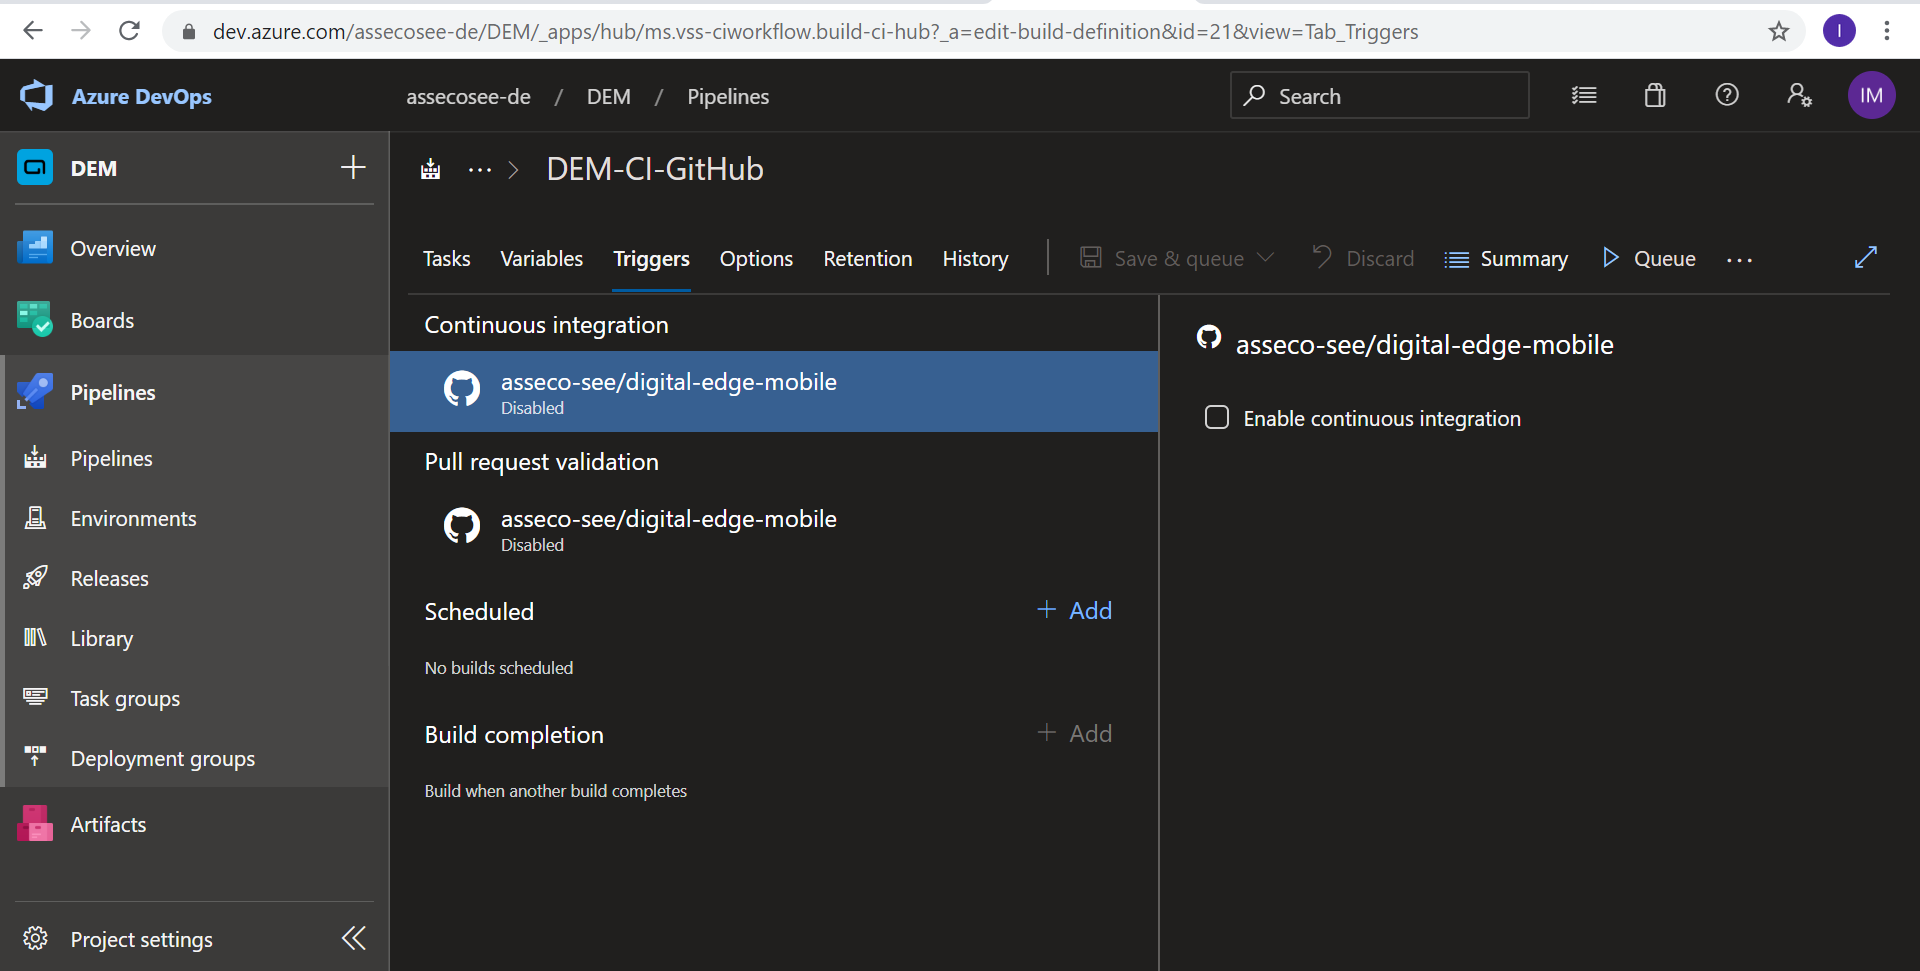
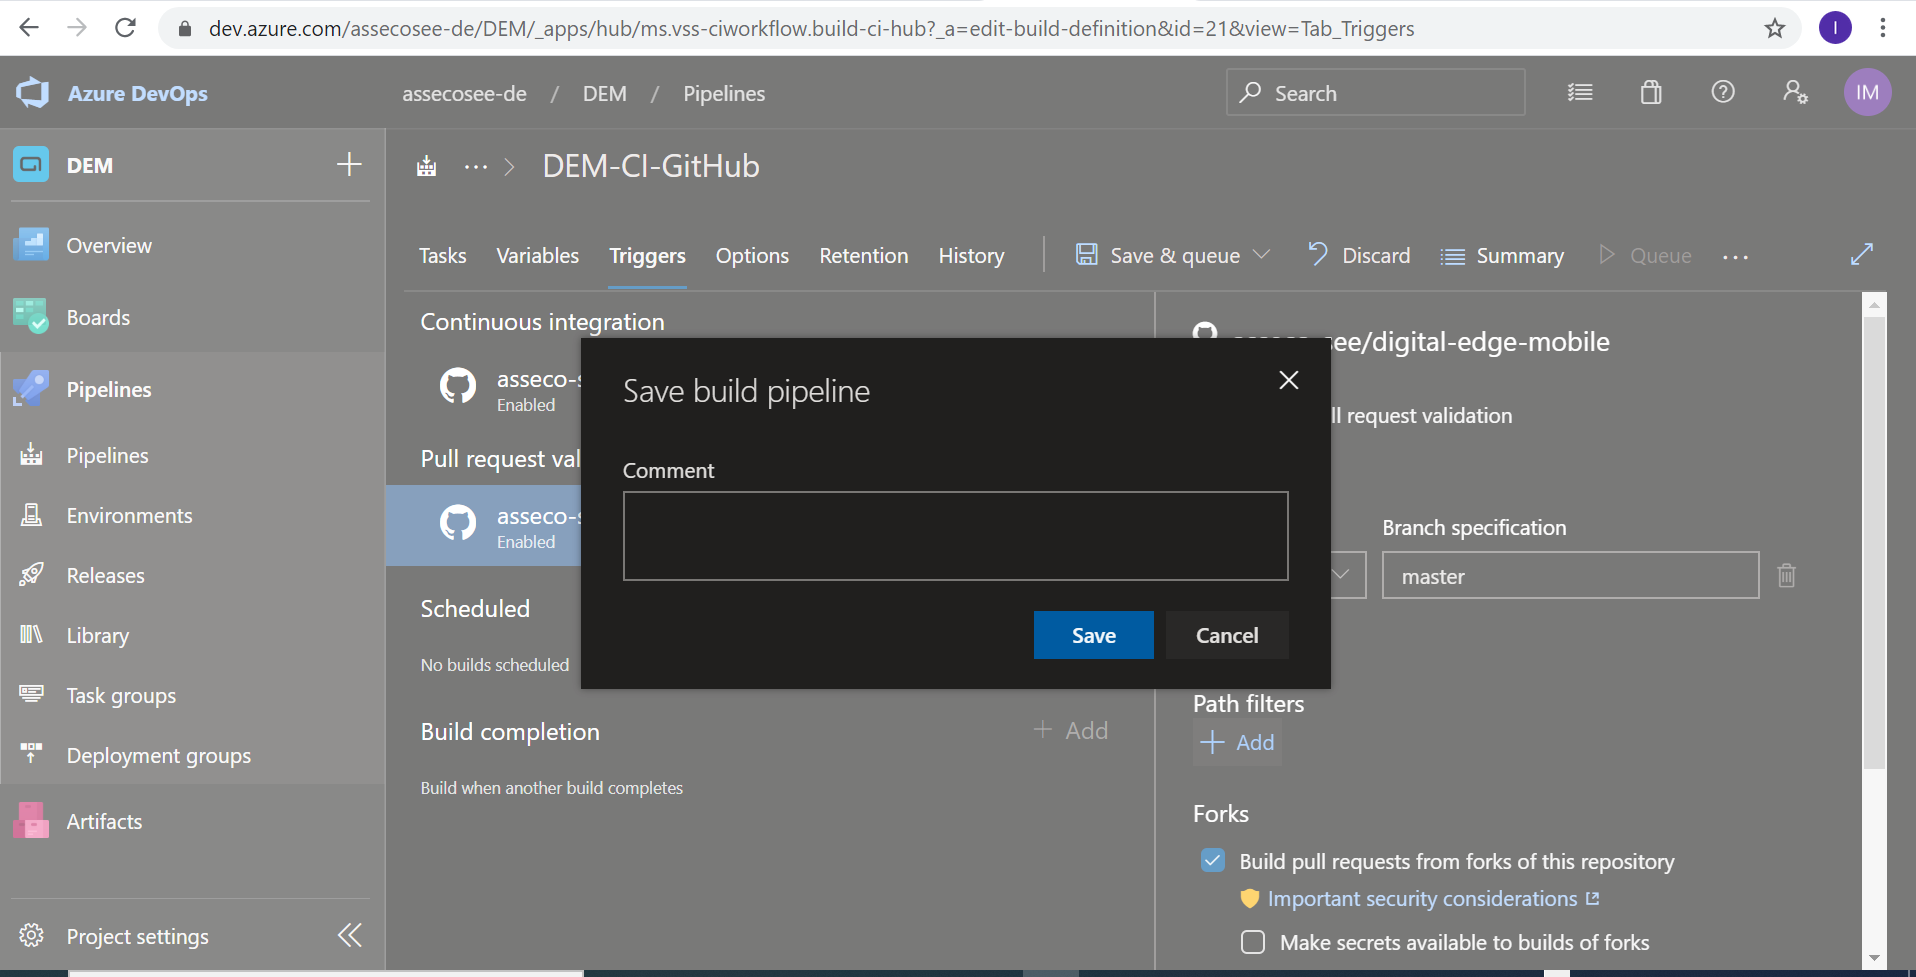
In order to package build starts with our push on GitHub, we should enable both triggers, and then save changes by clicking on Save & queue -> Save. When a pop-up from a picture shows, just click Save without fear of not leaving a comment.
Note
Don't forget to disable this triggers after the package build is done, otherwise it will start over with every push.
Let's go back to Visual Studio and push pending changes. After that, you should see that build started on Azure DevOps and you can monitor the process.
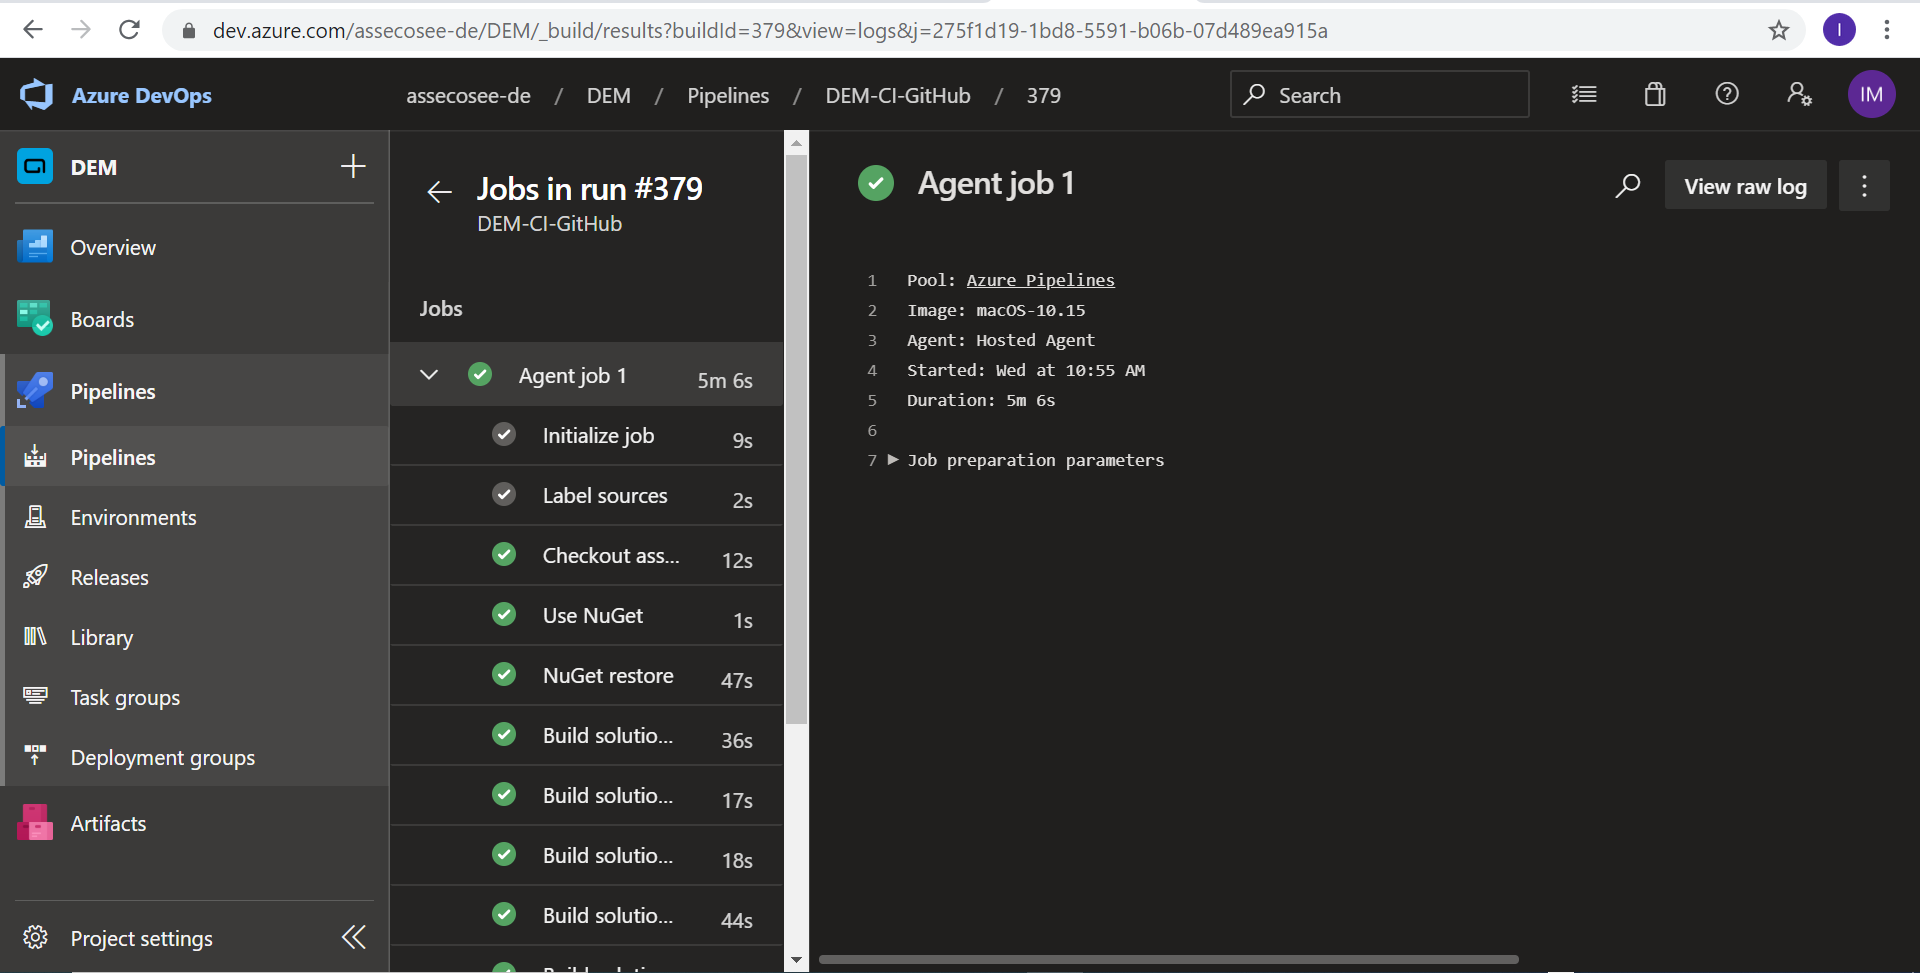
After build is complete, disable the triggers and this is it. Our packages are ready to go!
Version release
Open bank solution you want to build. Our first step is package update to the latest version, previously built. You should also change (increase) tick in Application.cs. Before push, make sure once again that the triggers on Azure DevOps are disabled. Push your changes.
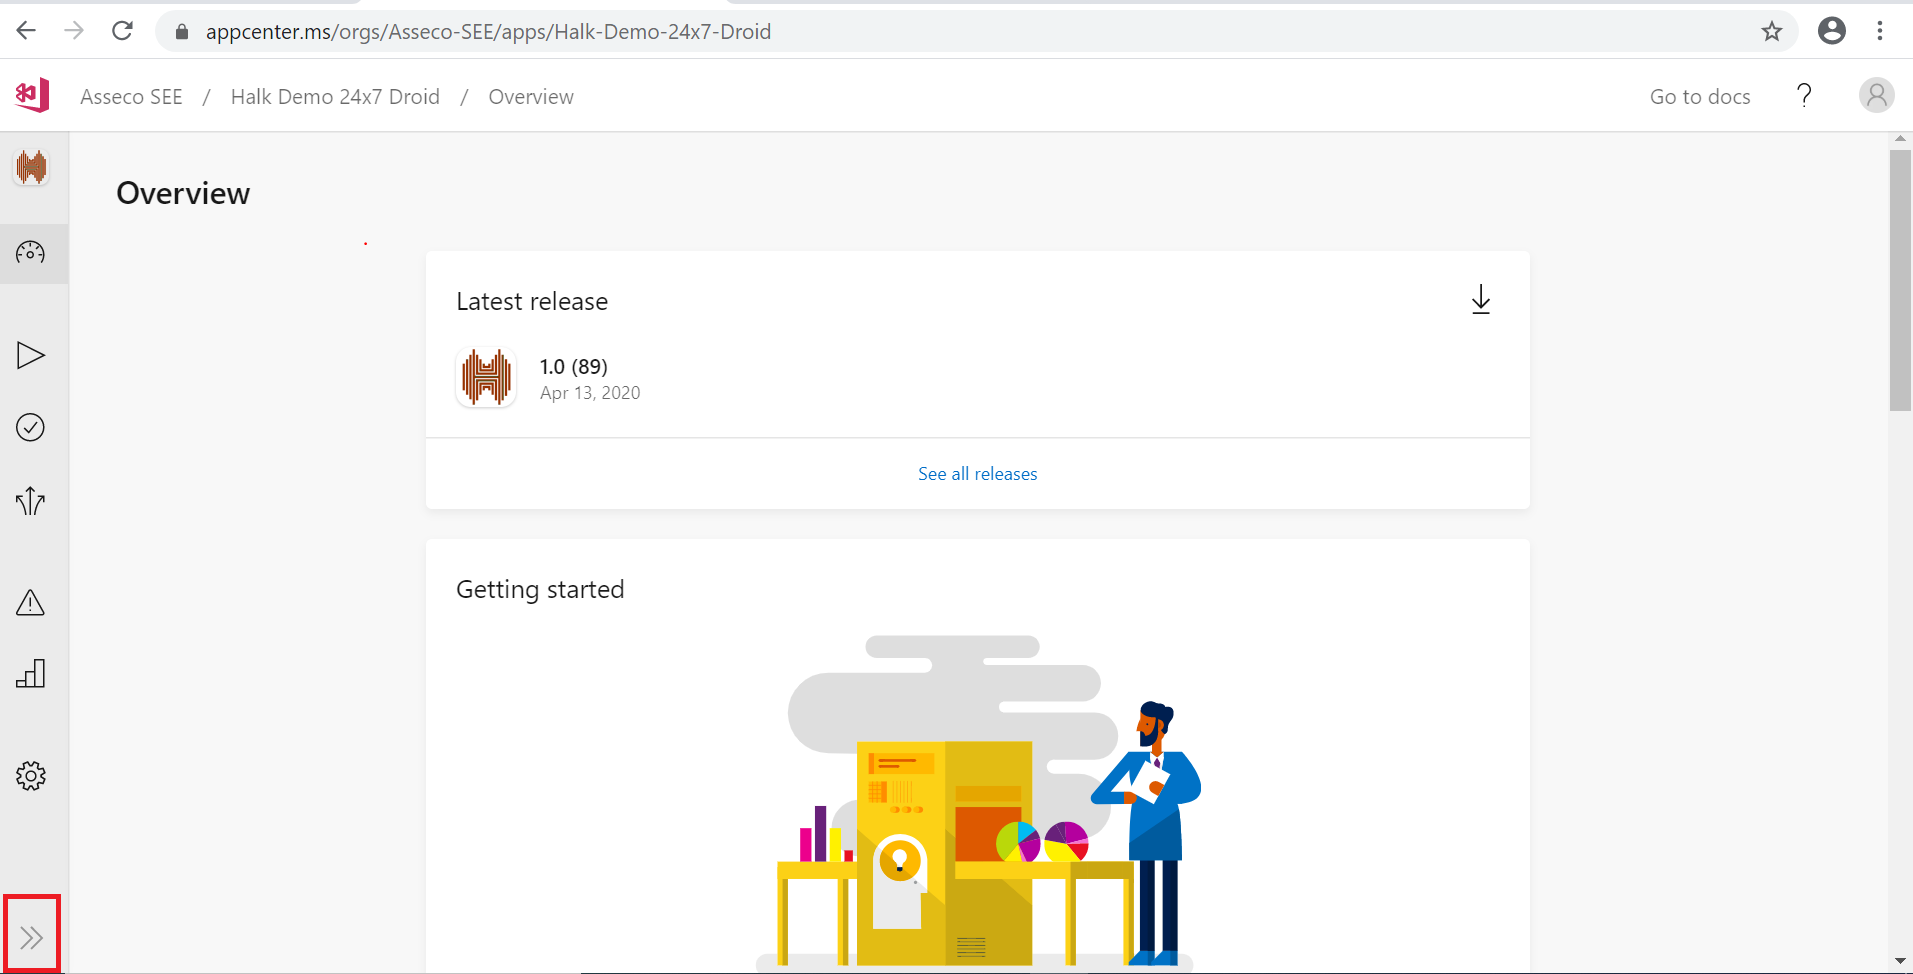
Now, let's go to App Center, our second build tool. You can find all our applications on this link. Log in with domain credentials. Click on application you want to build. You should be on the screen like in the picture below. You can expend the side-menu by clicking on the icon at the very bottom of the menu.
Click on Build. You should see your branch, with the name of latest commit. Click on it.
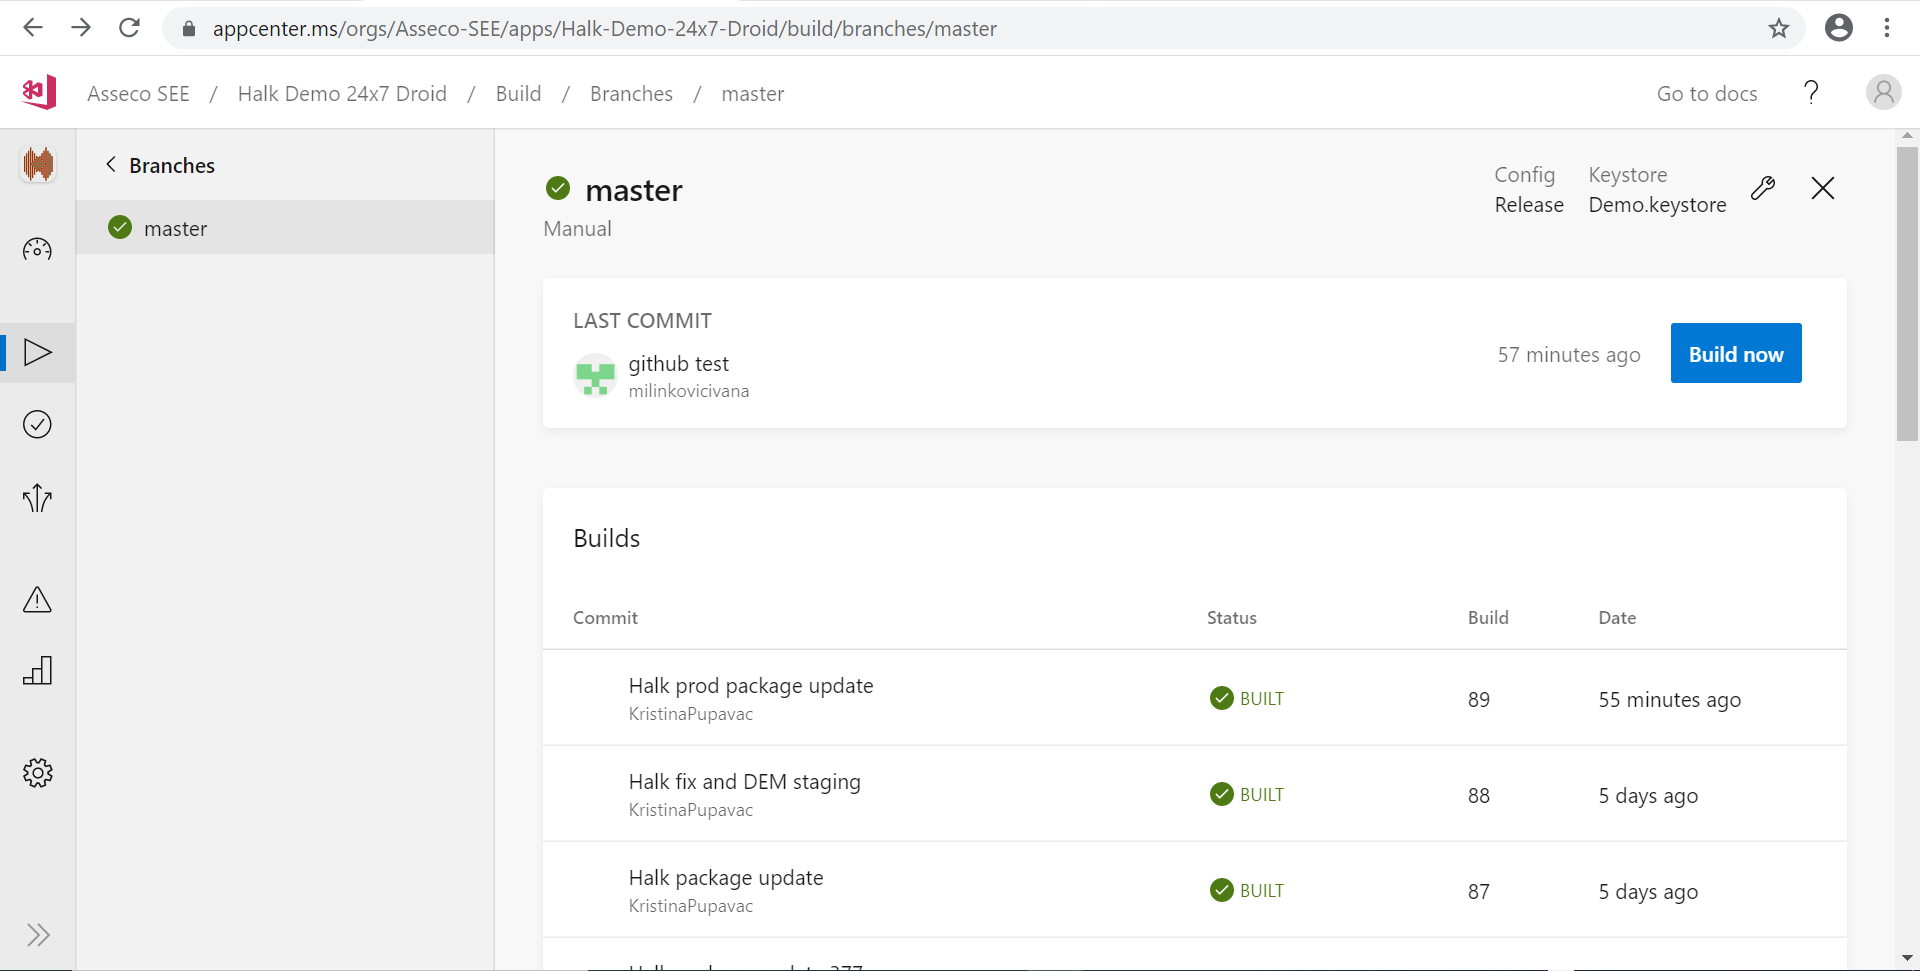
On this screen you can see all your builds for this app. To start new build click on Build now button. Like on Azure DevOps, you can monitor the whole build process by clicking on a build from the list (yours would be the first one on the list).
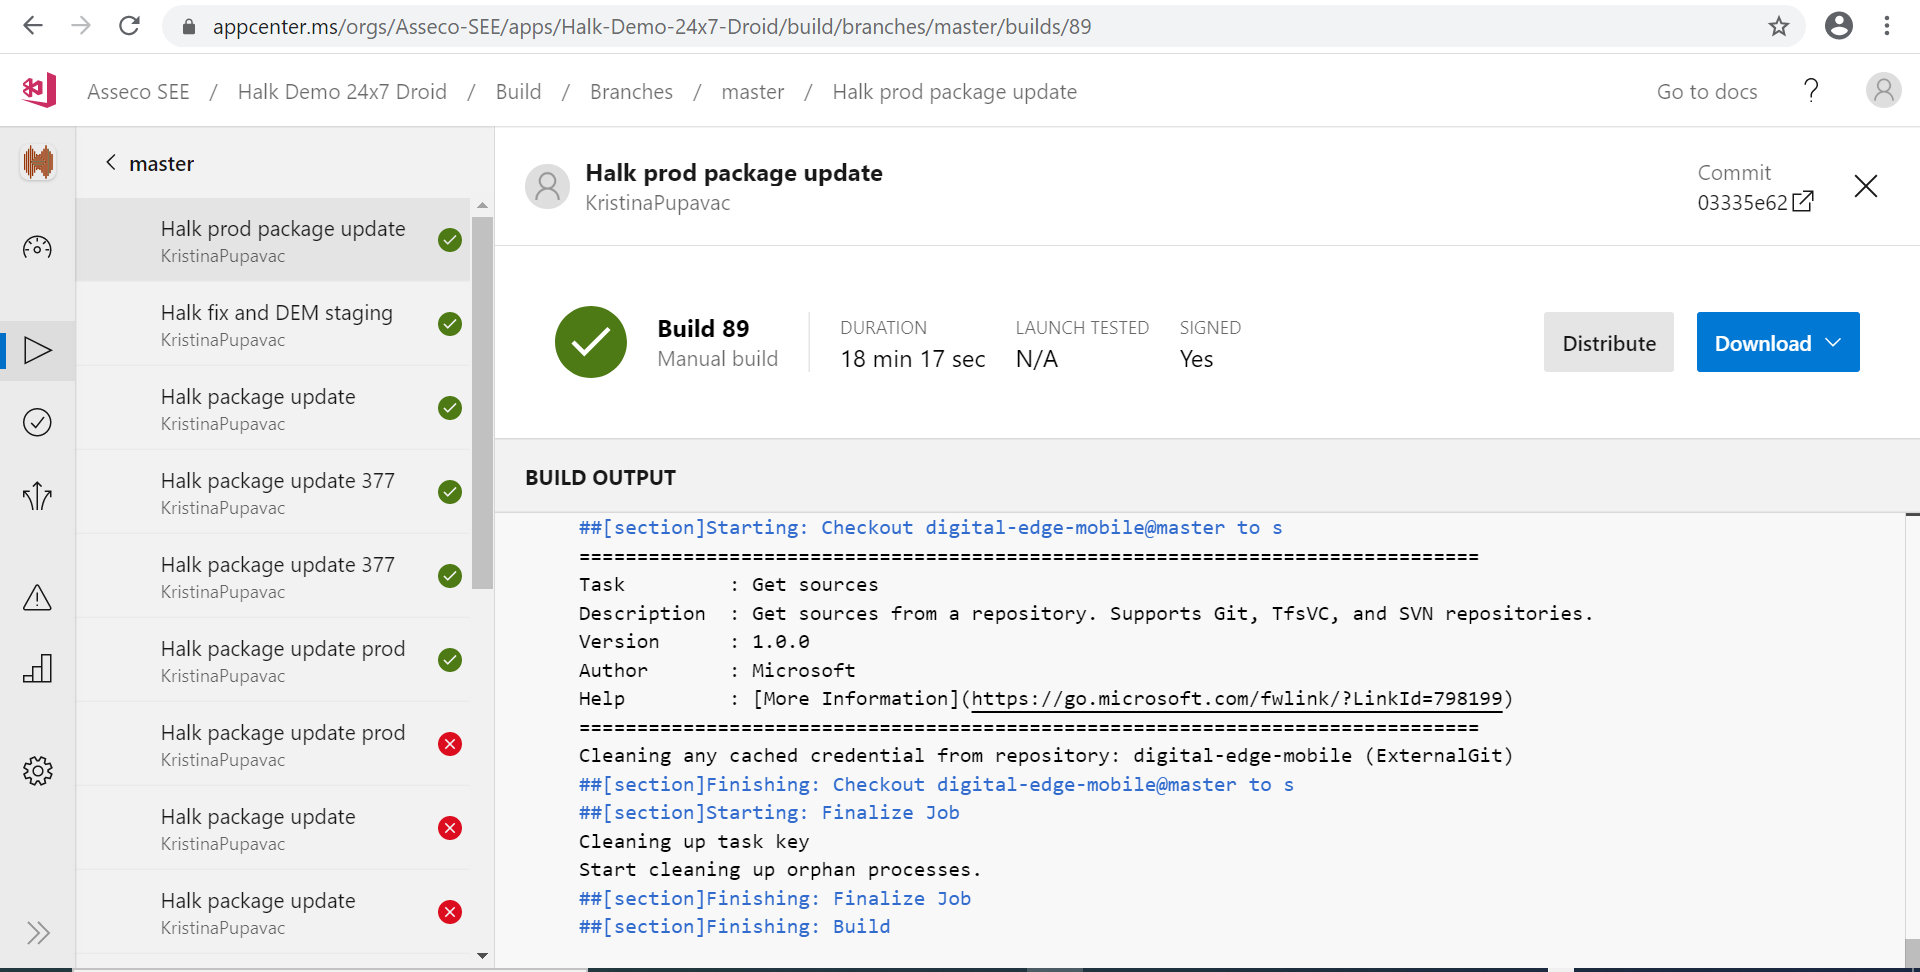
After build is over, we need to distribute our app. Click on a Distribute button. Choose a group, to which our app will be available. Click Next. Write some description if you want. Click Next. Check Mandatory update, then click Distribute.
You can see all releases by clicking on Distribute -> Releases from side-menu.
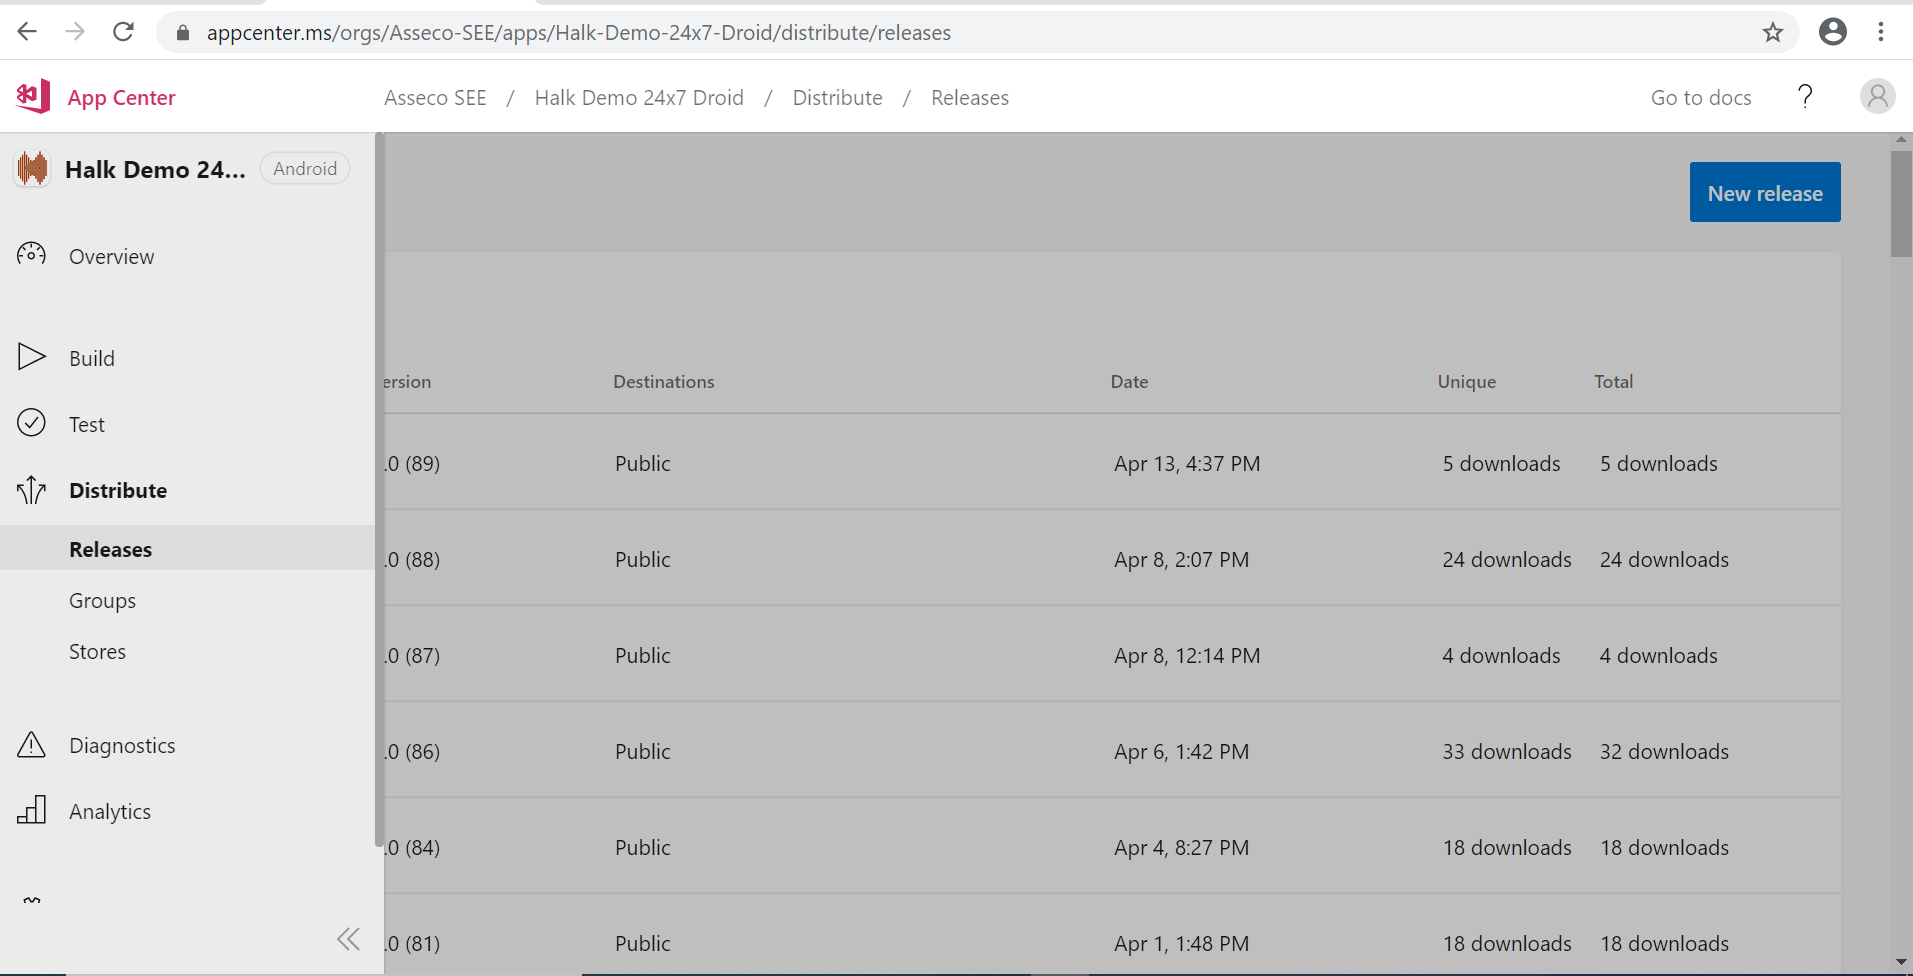
As you can suspect, by clicking on Distribute -> Groups from side-menu, you can manage groups.
Now, let's go again to Build menu item to see one more thing. You should be on this screen again and see your branch, with the name of latest commit.
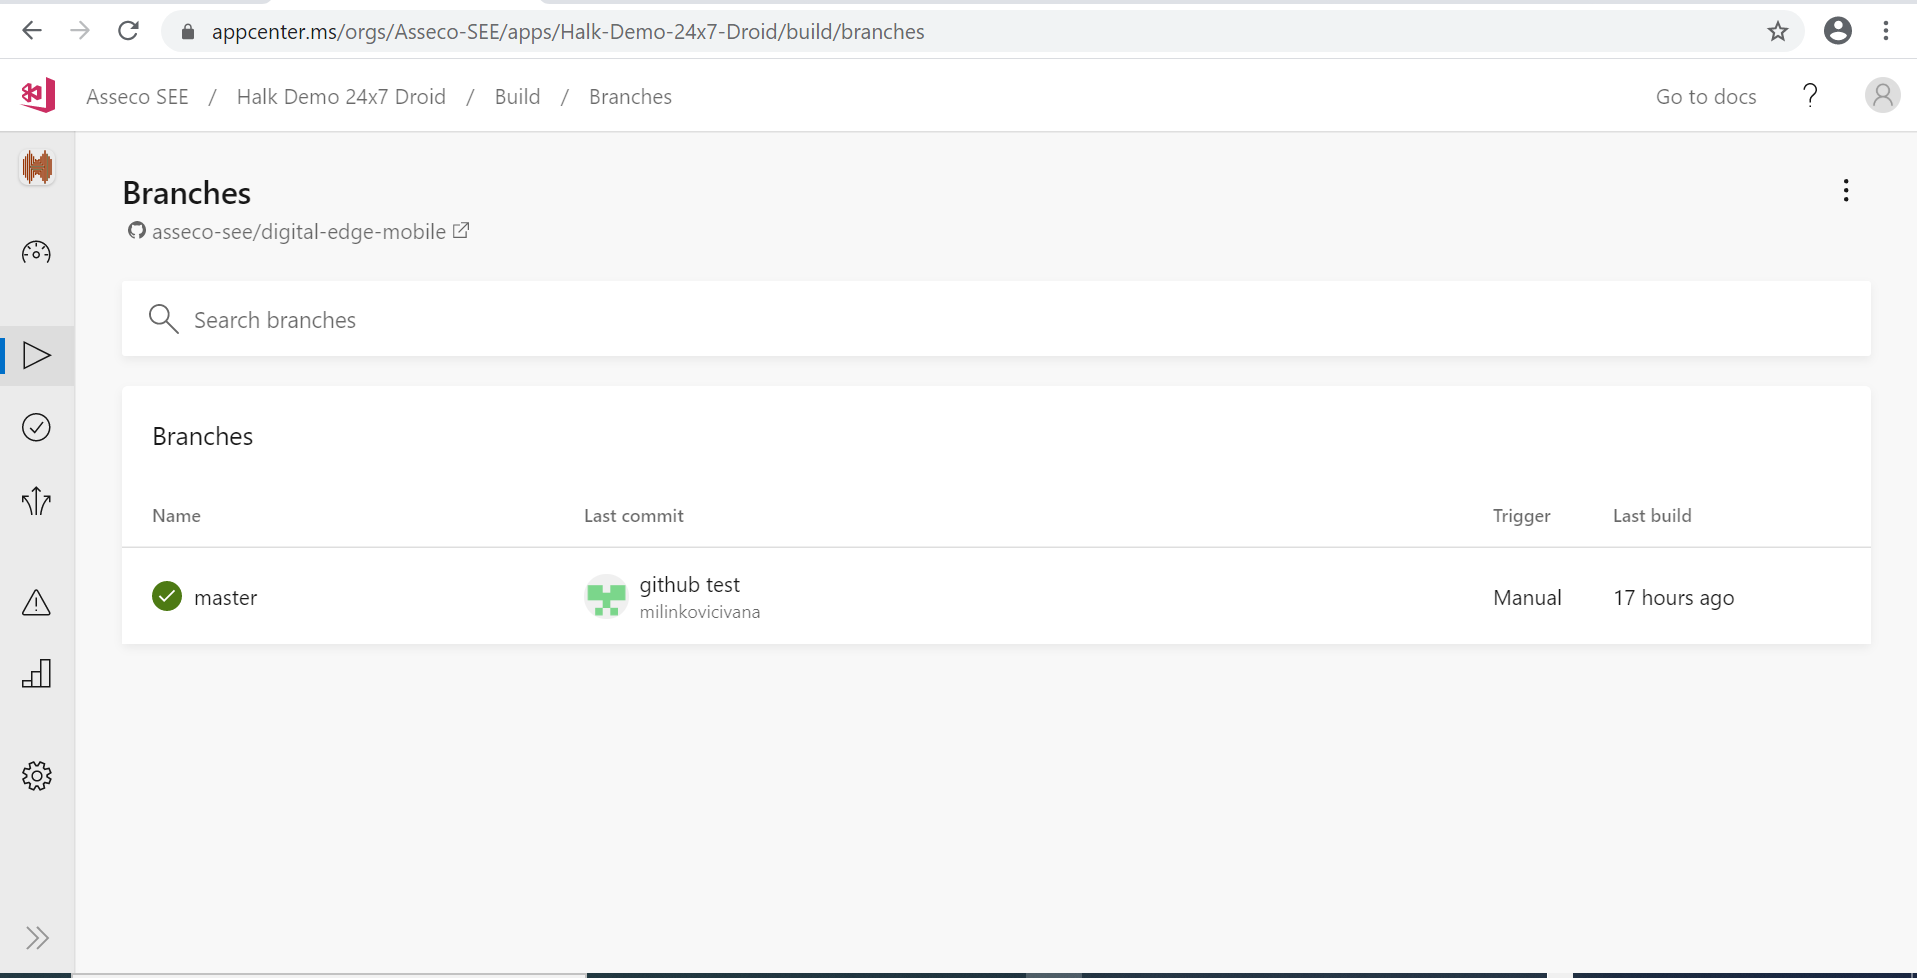
By hovering your mouse over the branch, a key should appear, on the right, next to Last build column. Click on it.
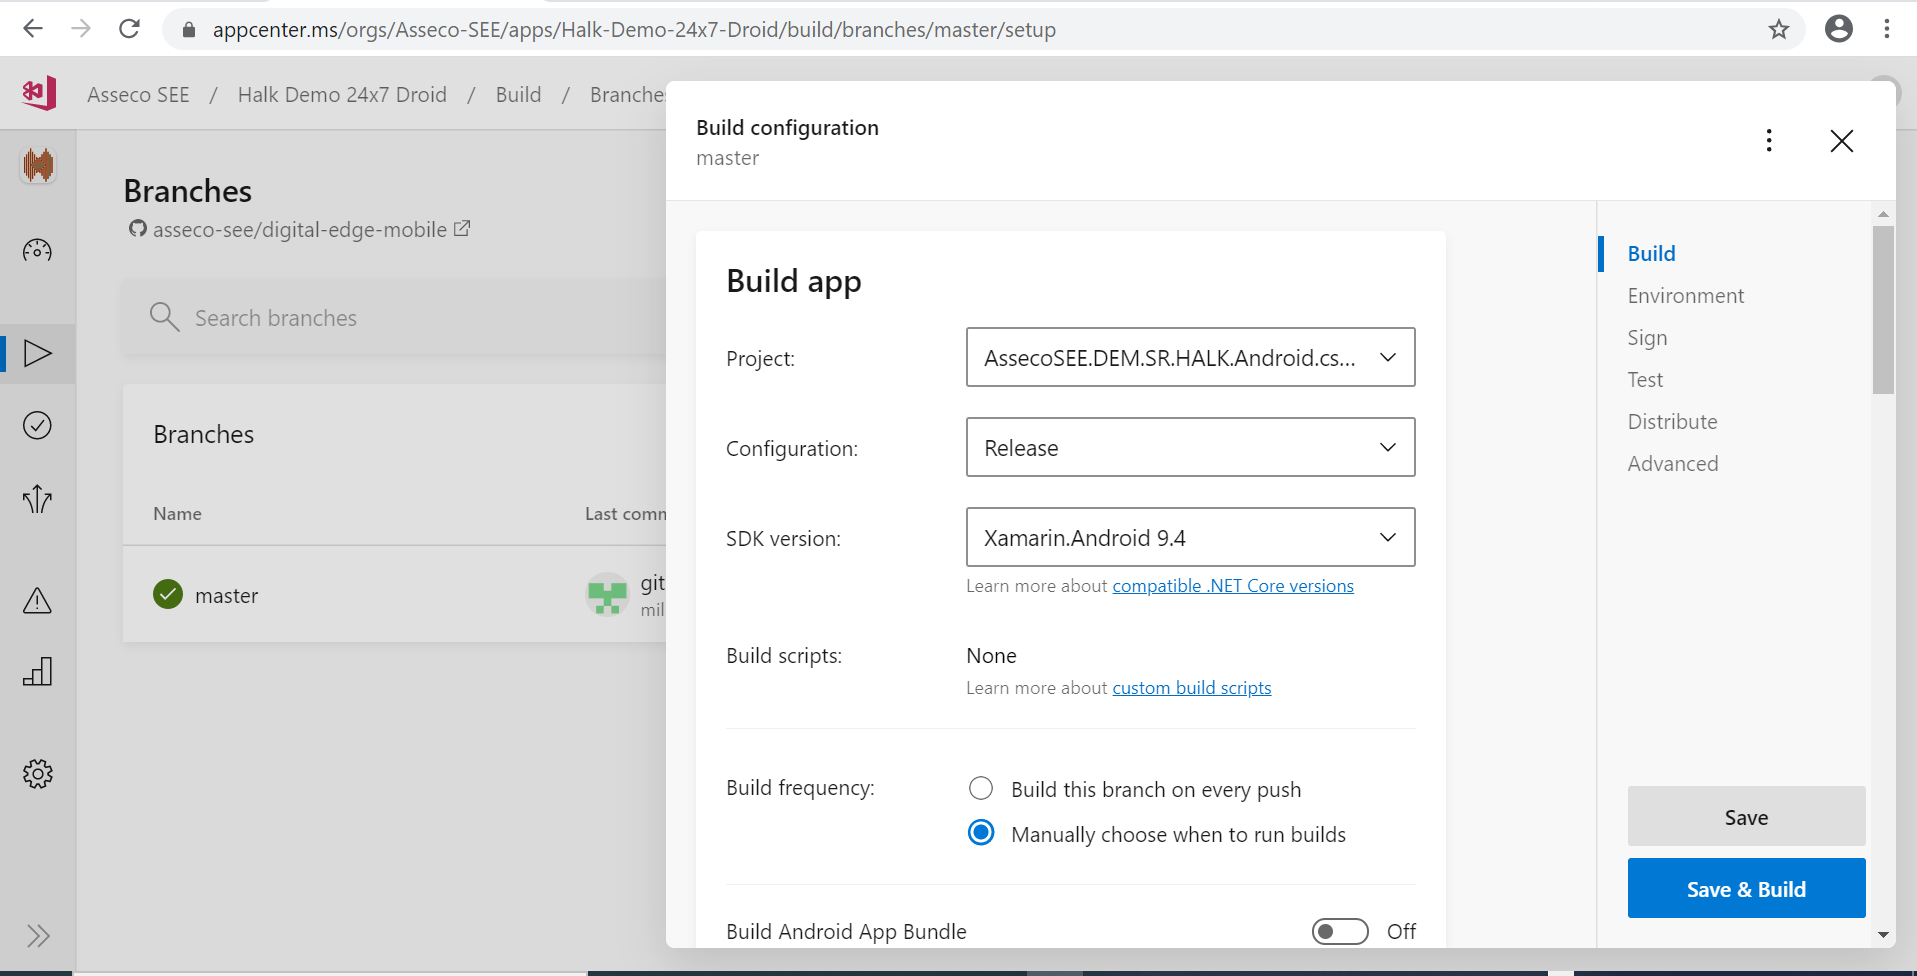
This is where you can set the build configuration.
Finalizing
After we are done with version release, we have to switch back to tfs. Delete the .git folder from a folder on Desktop, and copy the .git folder from DigitalEdge there. Now, in DigitalEgde, rename .git to _git. You should be now again connected to tfs.
If you changed some files while you were connected to git and you want to do check-in on tfs, you need to find each one of those files and do a manually check-out, and then check-in.