Push notifications
Xamarin.Forms code runs on multiple platforms - each of them has its own filesystem. This means that reading and writing files is most easily done using the native file APIs on each platform. Alternatively, embedded resources are a simpler solution to distribute data files with an app. Google Firebase is a Google-backed application development software that enables developers to develop iOS, android and web apps. Firebase provides tools for tracking analytics, reporting and fixing app crashes, creating marketing and product experiment. DEM v2.0 uses Firebase for implementation of push notifications on android and iOS applications.
Prerequisites
- Project in Firebase console
- Setting android/iOS application in project
- Server key
- iOS project – APN
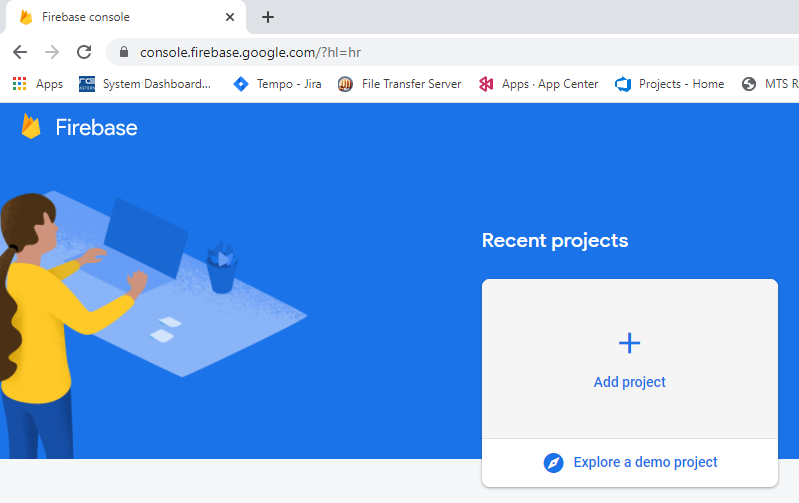
Firebase console – opening new project and setting applications
One of the first steps to do is to make new project on firebase console with your business account. That project will be related with your application through bundle ID for each platform. On creating new project, analytics are enabled by default.
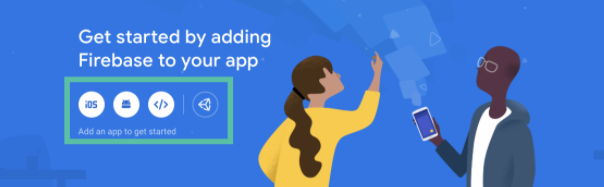
When project is made, second step is to add two application in it, one for android another to iOS.
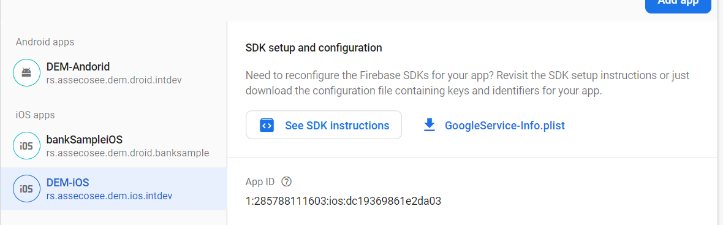
After filling details such as application name and identifier, Google will start provisioning and configuring a Google Cloud project for you. When that is done you will be able to download a google-services.json file or a GoogleService-Info.plist file (depending on the platform) which will be imported in application project.
Andorid’s google-service.json

iOS GoogleService-Info.plist
Server key

Server key is part of project credentials that is used for authorizing requests and it can be found in the Cloud Messaging tab of the Firebase console Settings pane. A message request consists of two parts, the HTTP header and the HTTP body. The HTTP header must contain the following headers:
- Authorization: key=YOUR_SERVER_KEY
- Content-Type: application/json for JSON; application/x-www-form-urlencoded;charset=UTF-8 for plain text. If Content-Type is omitted, the format is assumed to be plain text.
iOS APN
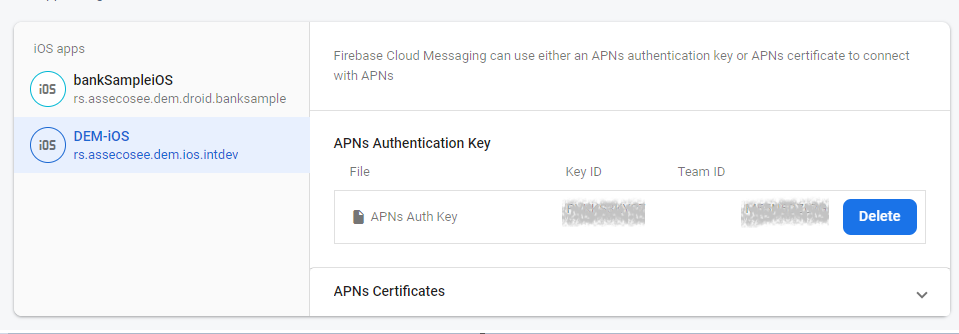
iOS project on Firebase console requires APN (Apple push notification service) to send message to send messages to iOS app, including when it is in the background. To enable sending Push Notifications through APNs, you need to create An Apple Push Notification Authentication Key for your Apple Developer account. Firebase Cloud Messaging uses this token to send Push Notifications to the application identified by the App ID. Steps to create APN on apple developer:
- In your developer account, go to Certificates, Identifiers & Profiles, and under Keys, select All.
- Click the Add button (+) in the upper-right corner.
- Enter a description for the APNs Auth Key
- Under Key Services, select the APNs checkbox, and click Continue.
- Click Confirm and then Download. Save your key in a secure place. This is a one-time download, and the key cannot be retrieved later.
APN authentication key is added in projects iOS application under settings, in cloud messaging sections.
Implementation in new DEM 2.0 soultion
Xamarin.Forms uses “Plugin.FirebasePushNotification” plugin which receives and handles firebase push notifications across Xamarin.iOS and Xamarin.Android. Plugin features:
- Receive firebase push notifications
- Subscribing/Unsubcribing to topics
- Support for push notification category actions
- Customize push notifications
- Localization
Plugin methods:
- OnTokenRefresh – Provides feedback when token is updated.
- OnNotificationReceived – Provides feedback when notification is received.
- OnNotificationOpened– Provides feedback when notification is opened.
DEM v2.0 contains class PushNotificationSubscriber that implements IPushNotificationHandler and initialize the plugin with it’s own implementation that will allow you to provide any customization based on applications needs. Subscriber is in Core dll package that must be install as nuget package in solutions every project (shared and platform specific).
In order to push notification be active, flag from environment configuration must be set true. This configuration will enable push handle to be written down in table when device is registered.
Testing push notification on both platforms
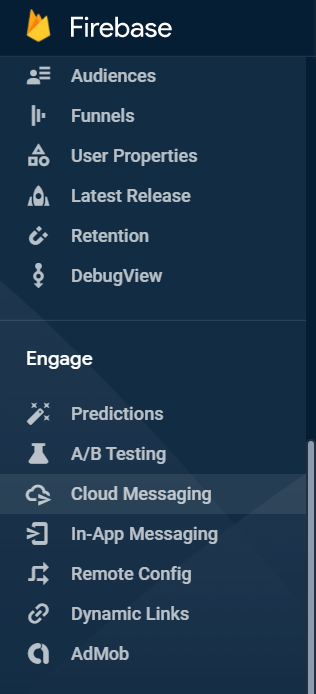
Testing and sending push messages is done through firebase console in section Cloud messaging.

On section “Cloud messaging”, button “New notification” will lead to new dialog where user needs to input title and message he wants to send. There are two ways to test and send notifications:
- On specific device

After filling required fields, title and message, “Send test message” is enabled. On click, it requires registration token in order to send message on specific device. Registration tokend is push handle which value is written down in database in table “OwnedDevices” in columns PushId and PnsHandle.
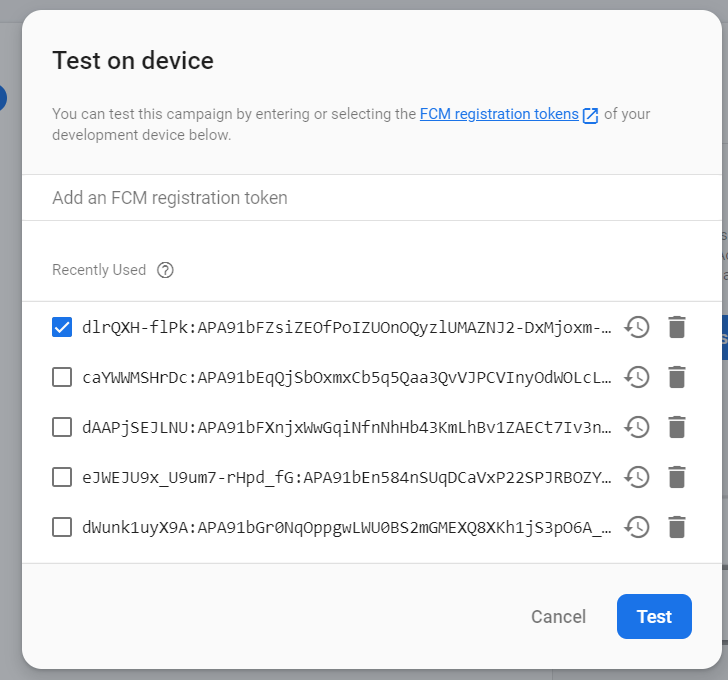
After inputing push handle from table, only device which has that push handle register, either android or iOS, will receive that push message that is send.
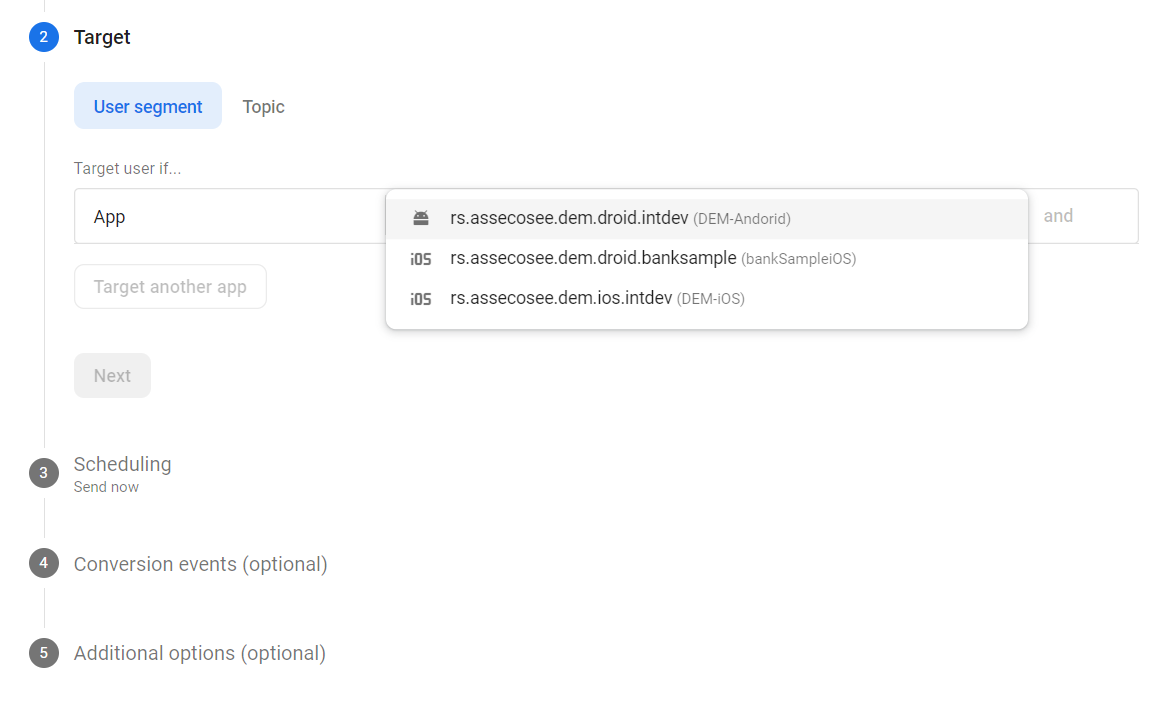
- On all devices that have application installed
Instead push handle, bundle ID is used to send required message to all device that are registered and using application. After filing title and message, “Next” button will lead to new section where available bundle IDs are shown and ready to be choose. In this case, platforms are separated so it needs to be sent separately.